This post may contain affiliate links which won’t change your price but will share some commission. Full Disclosure Policy.
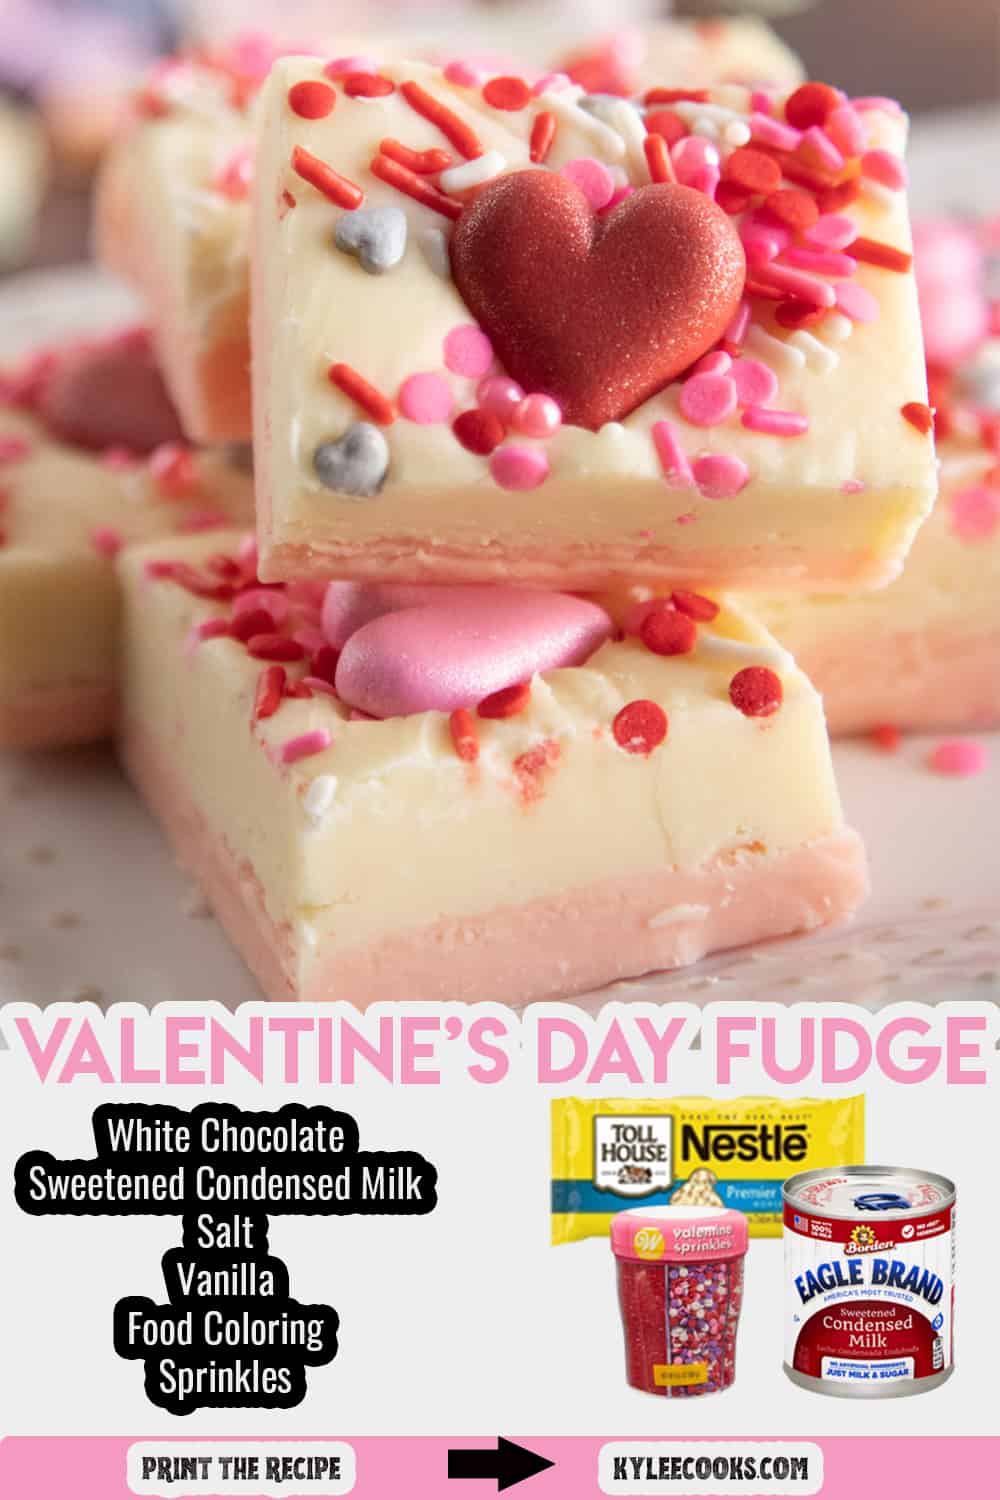
White Chocolate Fudge is the PERFECT no bake treat! Mix it up however you like, and customize to the occasion.
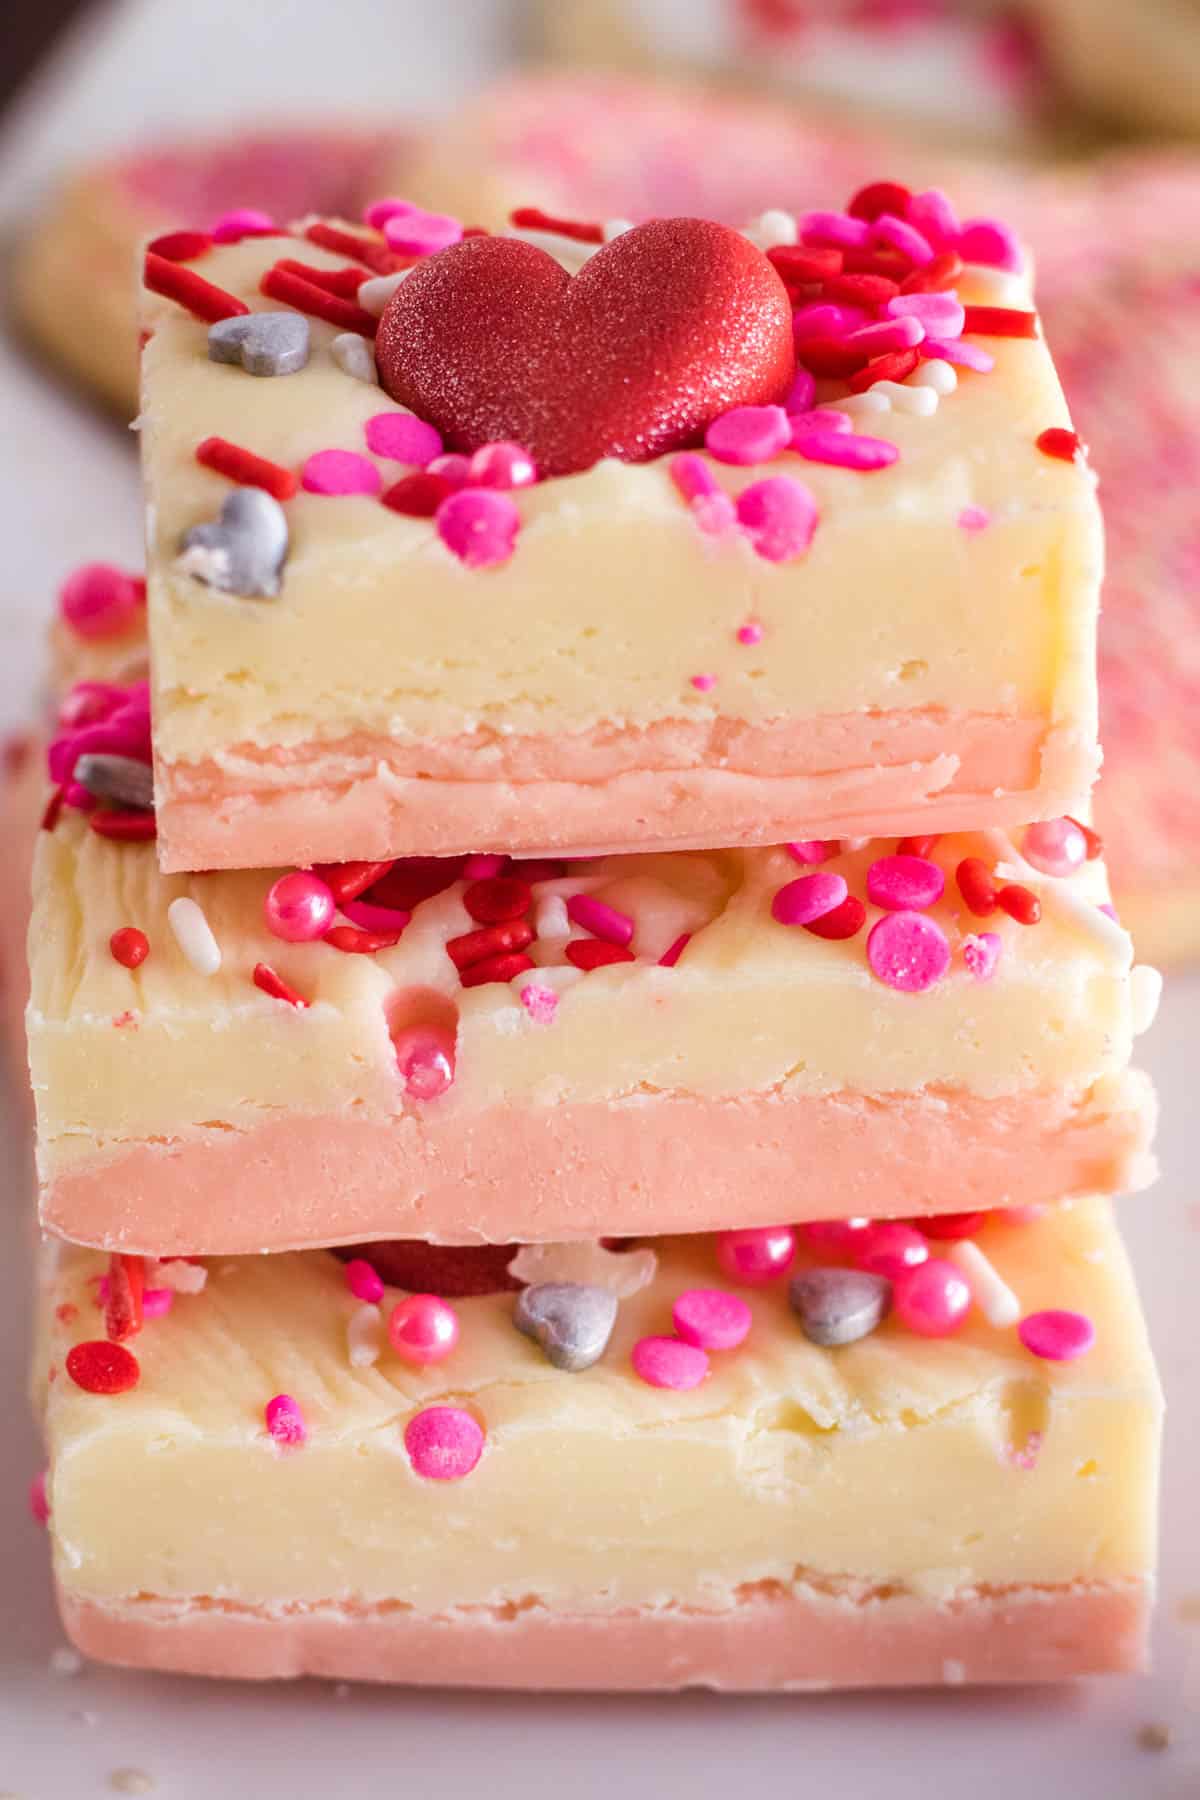
Valentine’s Day is one of my favorite holidays. Don’t get me wrong, I’m hardly the biggest romantic in the world, but is the day REALLY about love? Or is about eating chocolate right after New Year’s Resolutions faded?
I’ll let you decide.
This White Chocolate Fudge is a great recipe to make at the last minute, and uses only 3 main ingredients plus some optional ones.
If you have an occasion to make this, whether it is Valentine’s Day, or it’s a random Monday and you need fudge in your life, this really couldn’t be easier.
We blend sweetened condensed milk with white chocolate. I use the microwave in short bursts to melt it all together, then add vanilla, a pinch of salt (if you want), food coloring and then top with heart shaped sprinkles. You don’t even have to do two layers, you can do all one color if you prefer.
I like to mix sprinkles into the white layer sometimes as well as on top to get that real pop of color!
Check out my Valentine’s Day Saltine Toffee Recipe for another cute idea!
Why you’ll love this recipe
- Easy. This doesn’t require a culinary degree.
- Adaptable. Change this up by changing the base color, and mixing up the sprinkles. Think St Patrick’s Day, 4th July, Halloween, Christmas!
- Giftable! Make a double batch and cut your pieces small, and add to gift bags for friends and family

I have included step-by-step photos and instructions, as well as tips and tricks in the post. If you’d rather skip all that, scoot right on down to the full recipe card located at the bottom of the post.
Recipe Ingredients and Possible Substitutes
The full list of ingredients and quantities is found in the printable recipe card below.
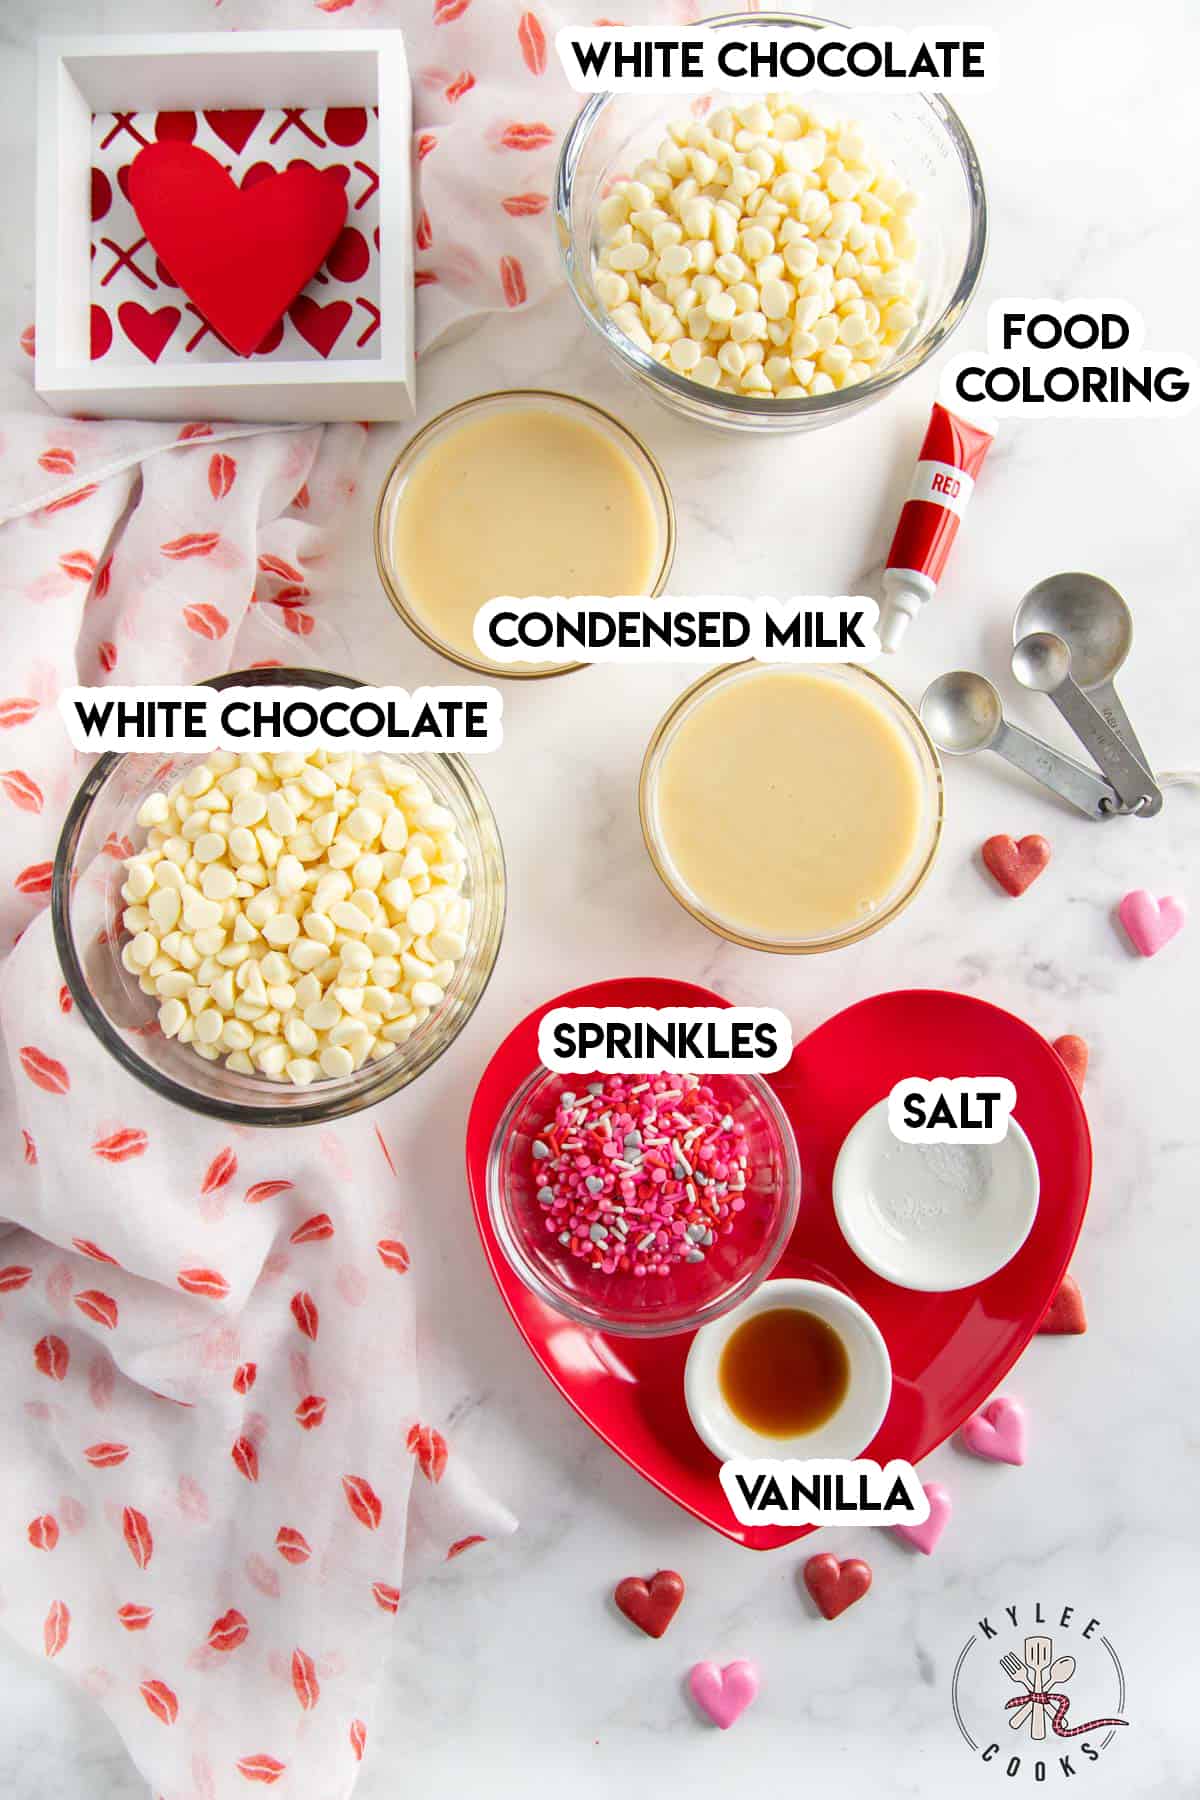
How to make this recipe
Scroll for Recipe
The full list of ingredients, quantities and instructions can be found in the printable recipe card below.
Get prepped
Grab an 8×8 pan, and line with parchment paper. Make sure you leave excess paper over the edges, it will help to remove the fudge from the pan.
Make the first layer
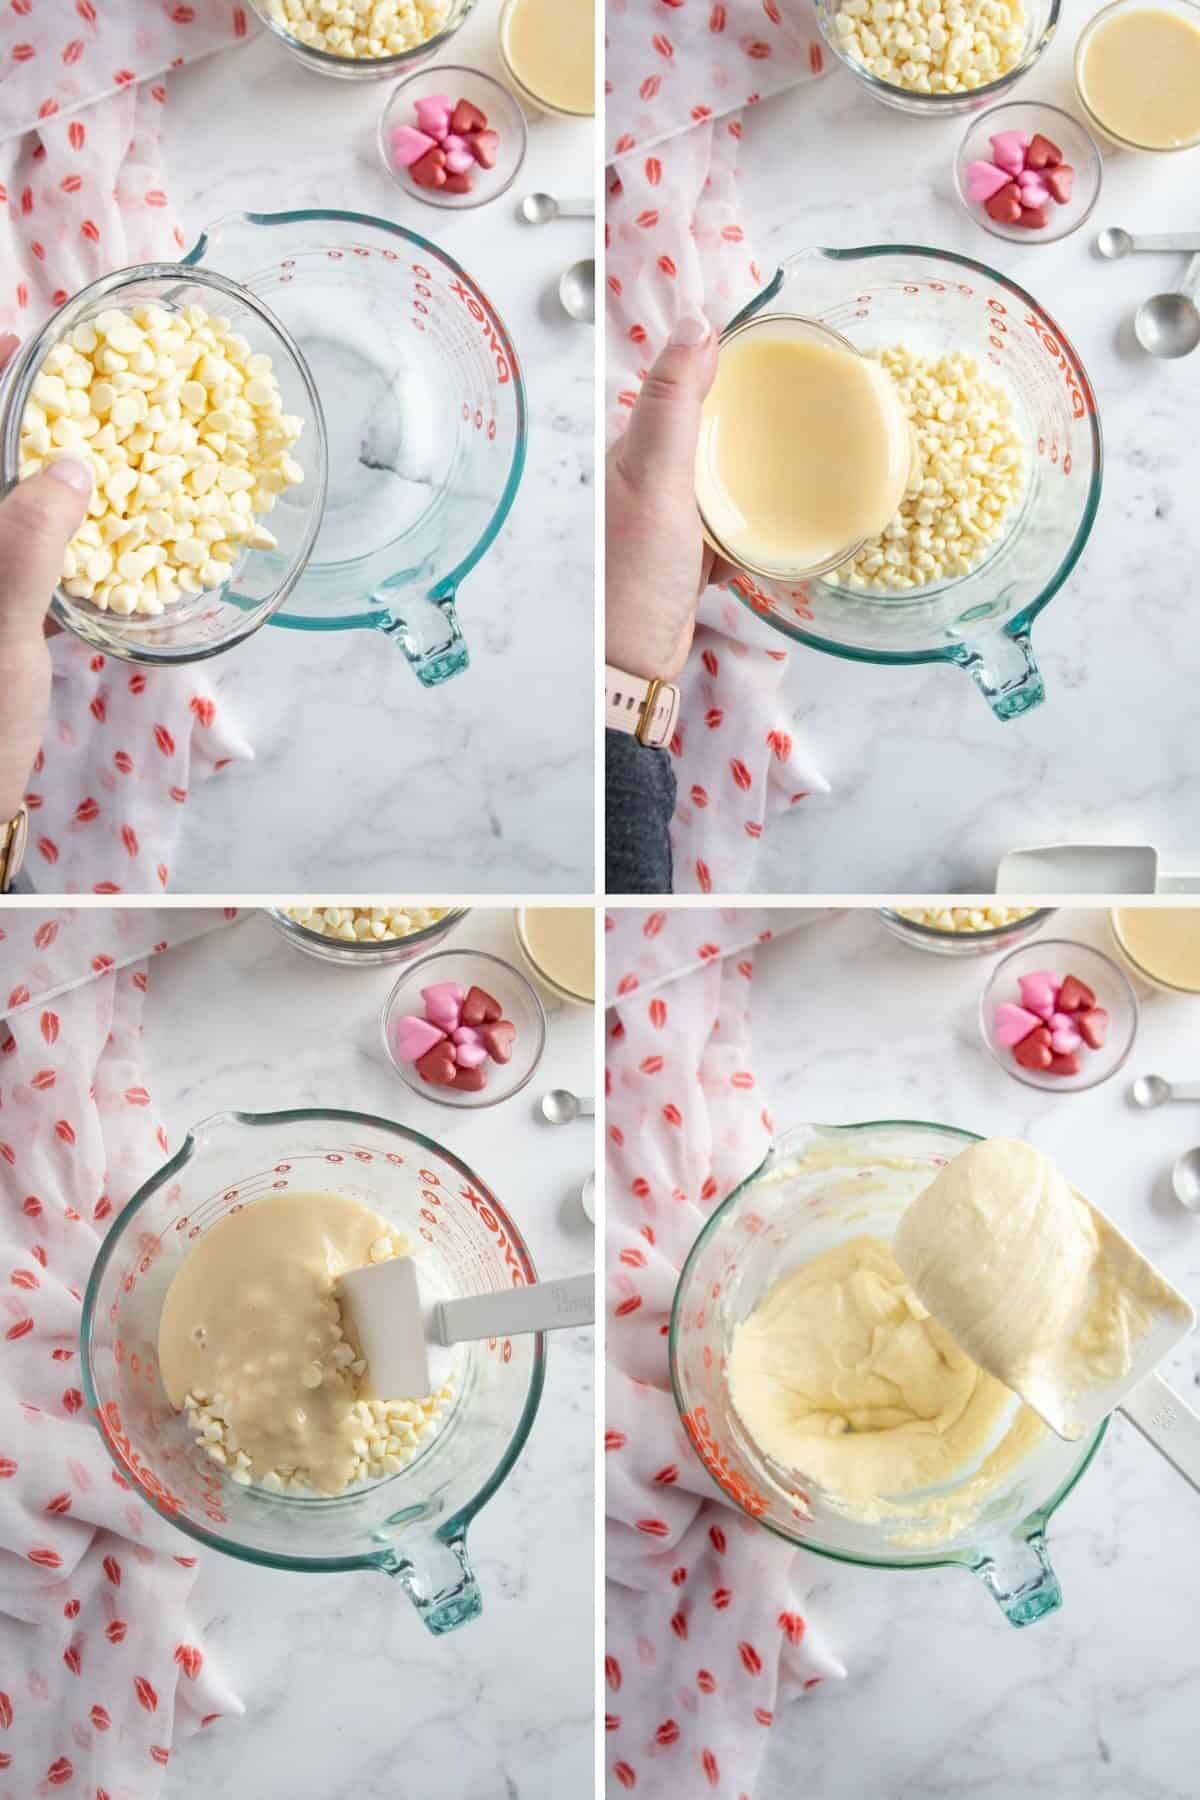
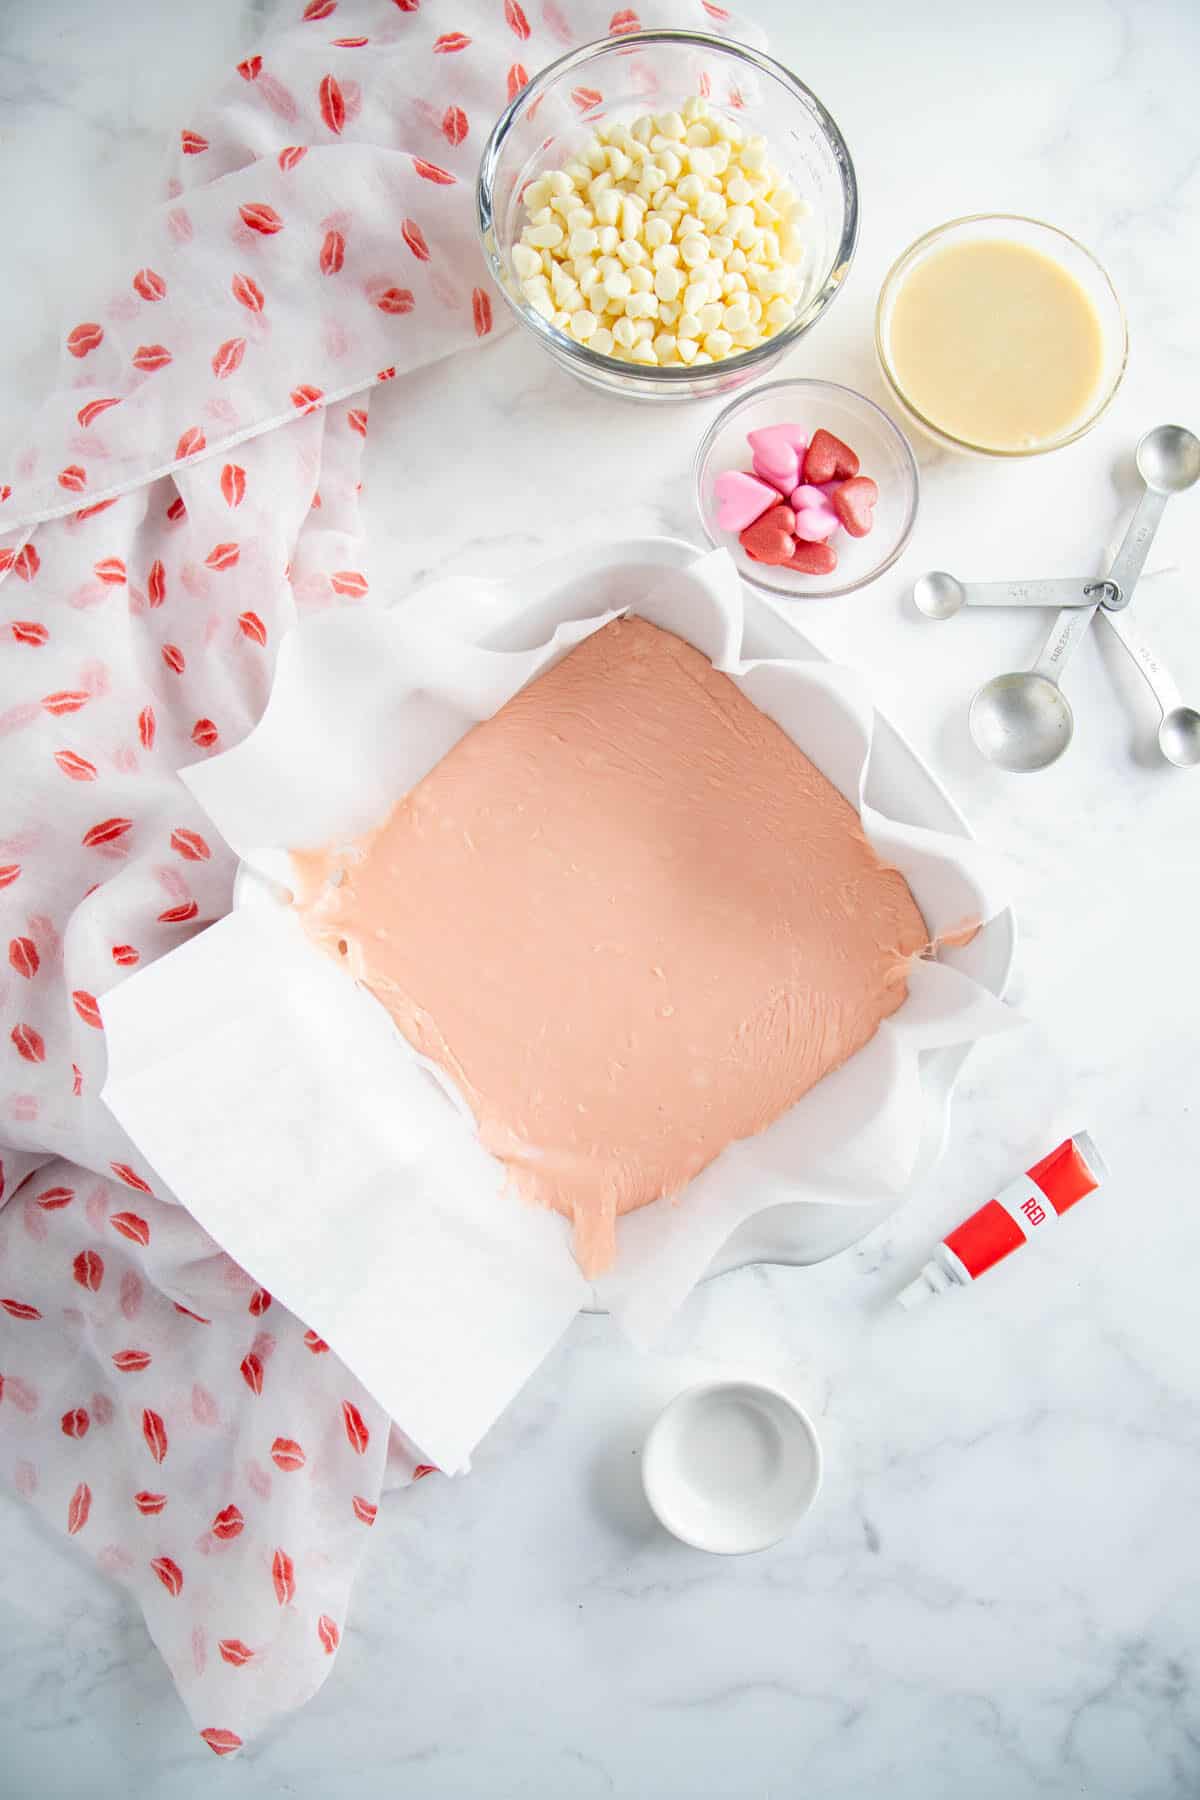
In a large microwave safe jug combine half the white baking chips and half the sweetened condensed milk.
Mix well, and microwave in 30 second blasts, stirring in between blasts until the mixture is melted and pourable.
Add in the half the salt, half the vanilla and food coloring (using more or less depending on desired shade of pink) and mix well.
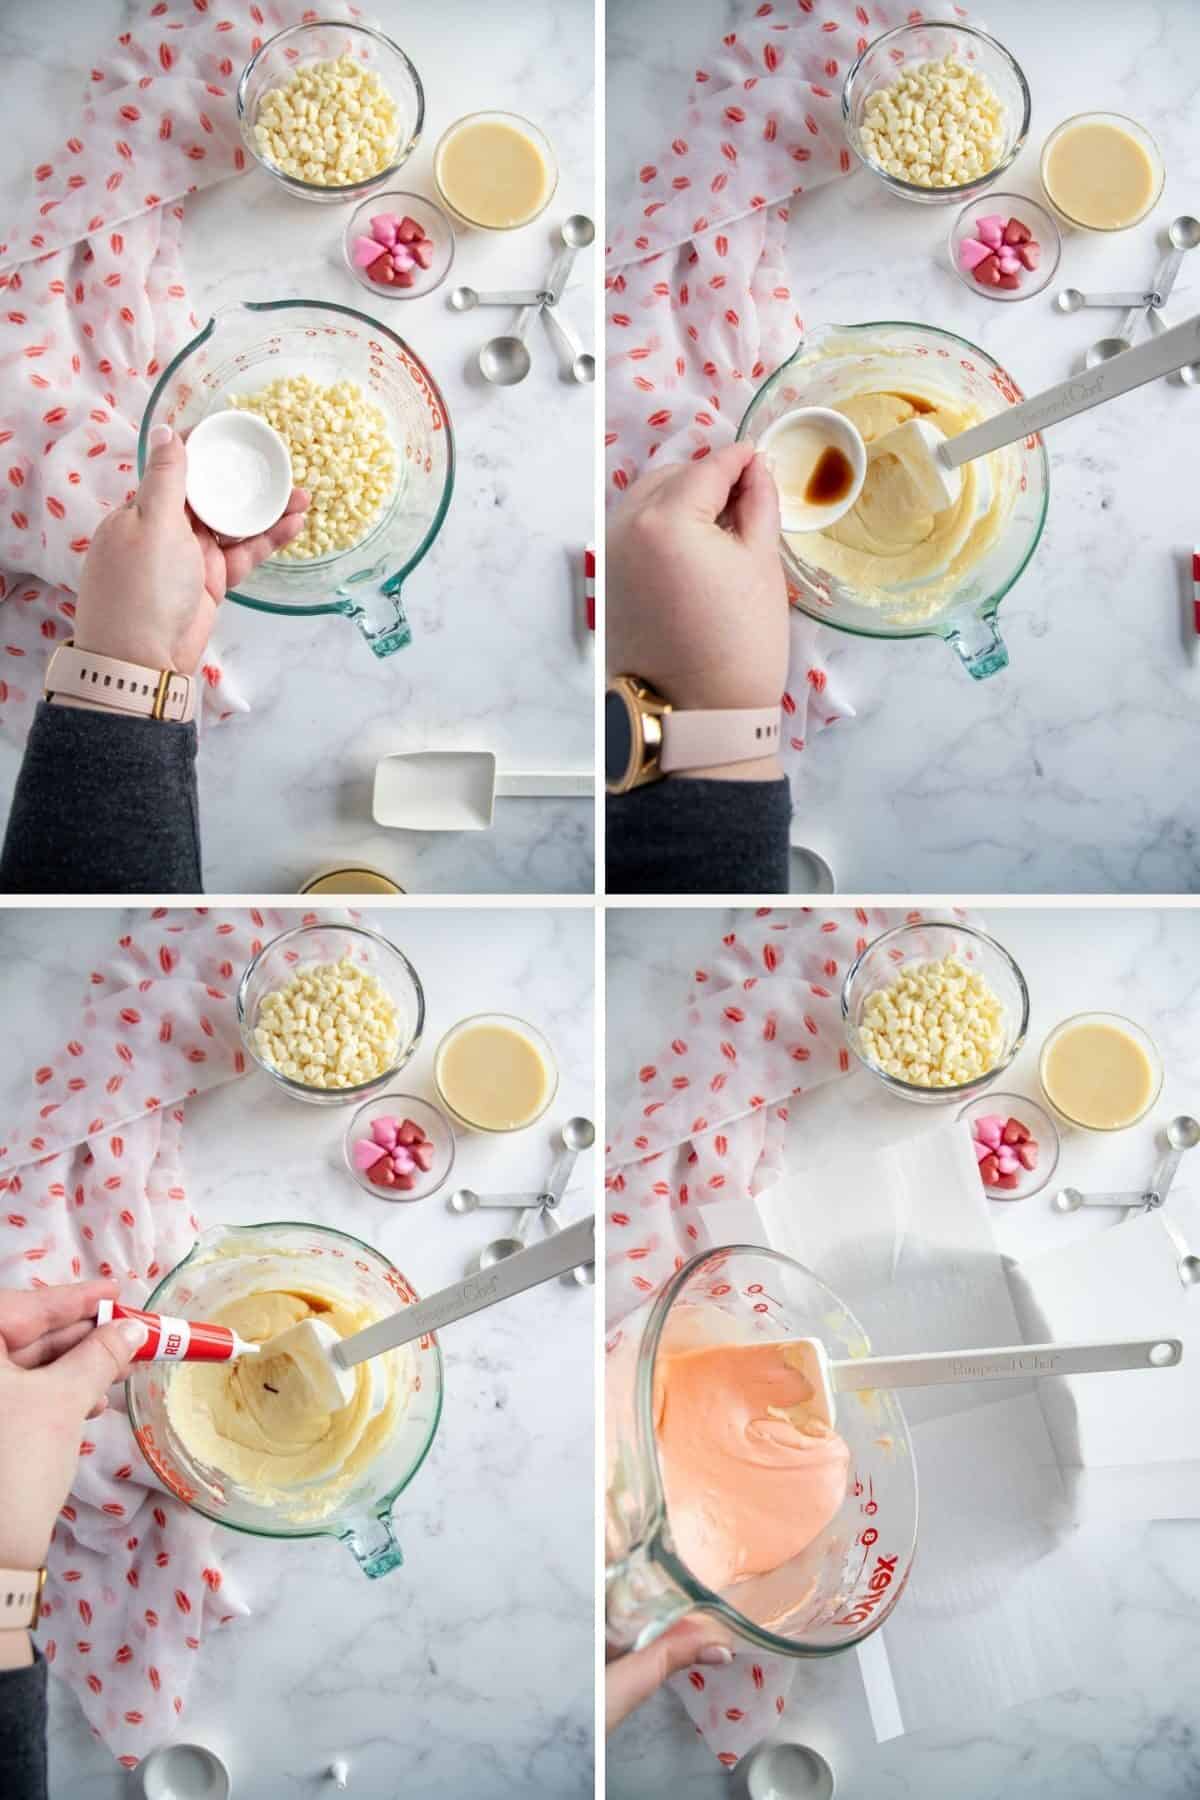
Pour into the prepared pan and smooth out. Refrigerate for 30 minutes.
Make the second layer
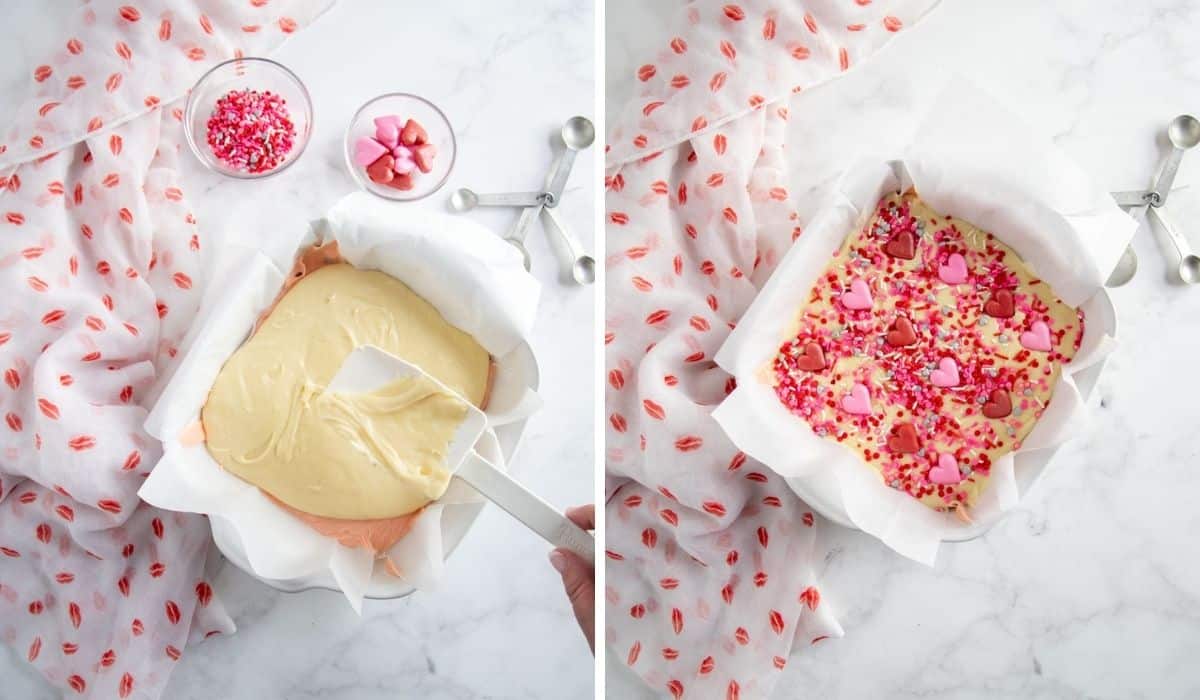
Repeat the first layer instructions using remaining sweetened condensed milk, white baking chips, vanilla and salt, but omit the food coloring.
Pour over the top of the pink fudge layer, smooth the top and sprinkle with decorative candies (conversation hearts, sprinkles, you choose).
Place in the refrigerator for 2 hours until firm.
Chilling and Cutting
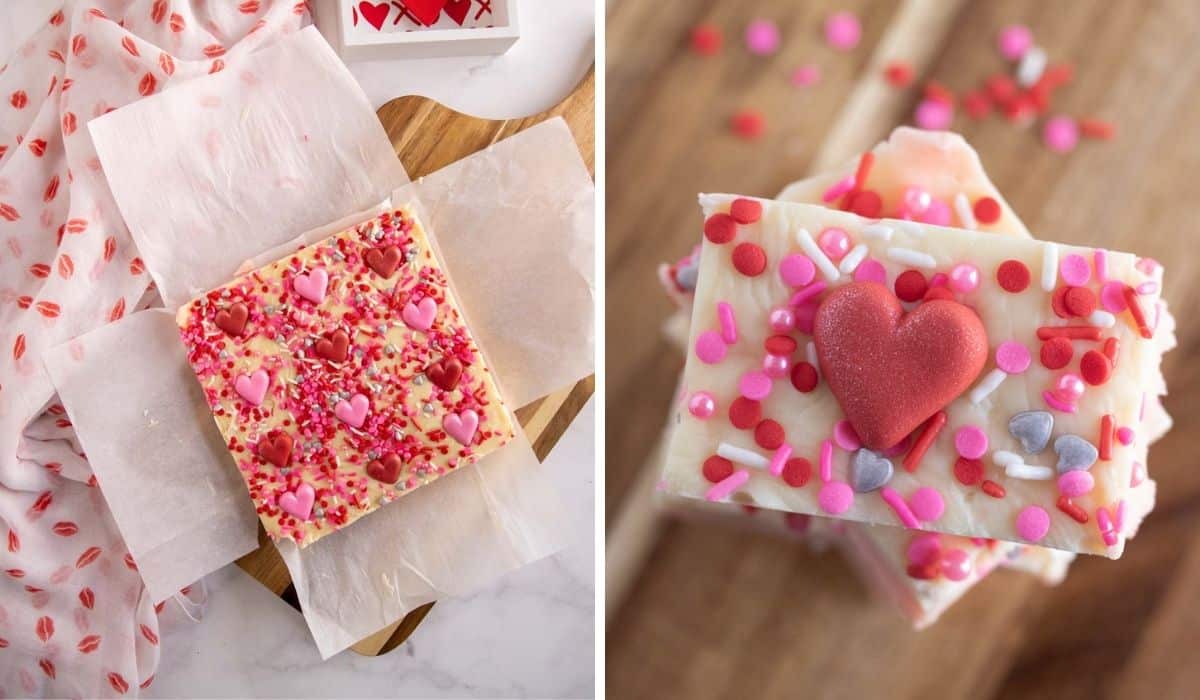
Lift the fudge out by the edges of parchment paper and place on a cutting board.
Cut into squares or triangles. You choose the size!
Kylee’s Notes & FAQs
After melting the chocolate and sweetened condensed milk, work quickly so it is still pourable, and doesn’t firm up before you are ready!
This fudge recipe can be made without a microwave, simply heat the condensed milk and white baking chips in a small sauce pan over medium heat, stirring constantly. Remove from the heat before stirring in vanilla and salt. Continue per the instructions for microwave.
How to store
This treat will keep for up to 7 days at room temperature, but I prefer to keep mine in the fridge.
Substitutions/Additions
You can use dark chocolate or milk chocolate chips for this, but you won’t get the ability to add color!
Use almond extract in place of vanilla extract.
You can use kosher salt, regular salt or sea salt in your fudge. Whatever you have will work!

- Chocolate Coffee Mousse (5 Ingredients!). Coffee and chocolate blend perfectly and it’s just 5 ingredients! Perfect for making ahead, and enjoying after dinner.
- Slutty Brownies Make this decadent dessert from scratch! With cookie dough on the base, oreos in the middle and brownie batter poured over the top, these are the ultimate dessert!
- Oreo Dirt Pudding Parfaits. Make this classic chocolatey deliciousness into individual servings, for an easy dessert!
- Chocolate Chip Bread. Simple to make and absolutely delicious, the smell of this baking will get the whole family out of bed!
- Classic Sugar Cookie Bars. Fluffy, soft and a little bit chewy, these bars are topped with a creamy homemade frosting. An easy recipe, but definitely one to keep!
Want to try this recipe?
Pin it to your favorite Pinterest Boards.
Find me on Pinterest for more delicious recipes!

White Chocolate Fudge (Valentine’s Day Fudge)
Ingredients
- 24 oz white chocolate chips (divided)
- 14 oz sweetened condensed milk (1 can, divided)
- 2 teaspoon vanilla extract (divided)
- 2 pinch salt
- red food coloring
- 1/4 cup sprinkles (or other decorations)
Directions
Get prepped
- Grab an 8×8 pan, and line with parchment paper. Make sure you leave excess paper over the edges, it will help to remove the fudge from the pan.
Make the first layer
- In a large microwave safe jug combined half the white baking chips and half the sweetened condensed milk.
- Mix well, and microwave in 30 second blasts, stirring in between blasts until the mixture is melted and pourable.
- Add in the half the salt, half the vanilla and food coloring (using more or less depending on desired shade of pink) and mix well.
- Pour into the prepared pan and smooth out. Refrigerate for 30 minutes.
Make the second layer
- Repeat the first layer instructions with remaining sweetened condensed milk, salt and vanilla, but omit the food coloring.
- Pour over the top of the pink fudge layer, smooth the top and sprinkle with decorative candies (conversation hearts, sprinkles, you choose).
- Place in the refrigerator for 2 hours until firm.
Cutting and Chilling
- Lift the fudge out by the edges of parchment paper and place on a cutting board.
- Cut into squares, or triangles. You choose the size!
- Devour.
Nutrition Facts
Disclaimer
Nutritional information is an estimate and provided to you as a courtesy. You should calculate the nutritional information with the actual ingredients used in your recipe using your preferred nutrition calculator.

Leave a Review