This post may contain affiliate links which won’t change your price but will share some commission. Full Disclosure Policy.
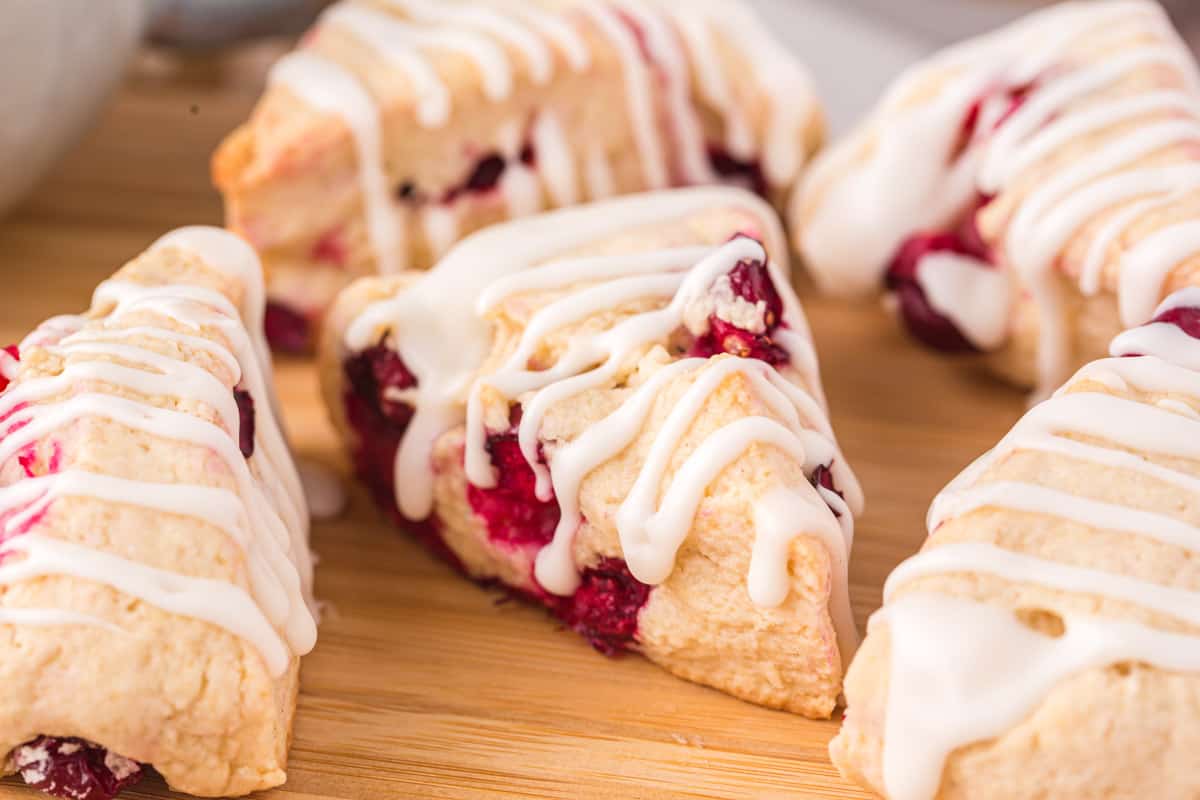
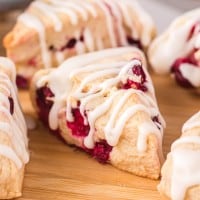
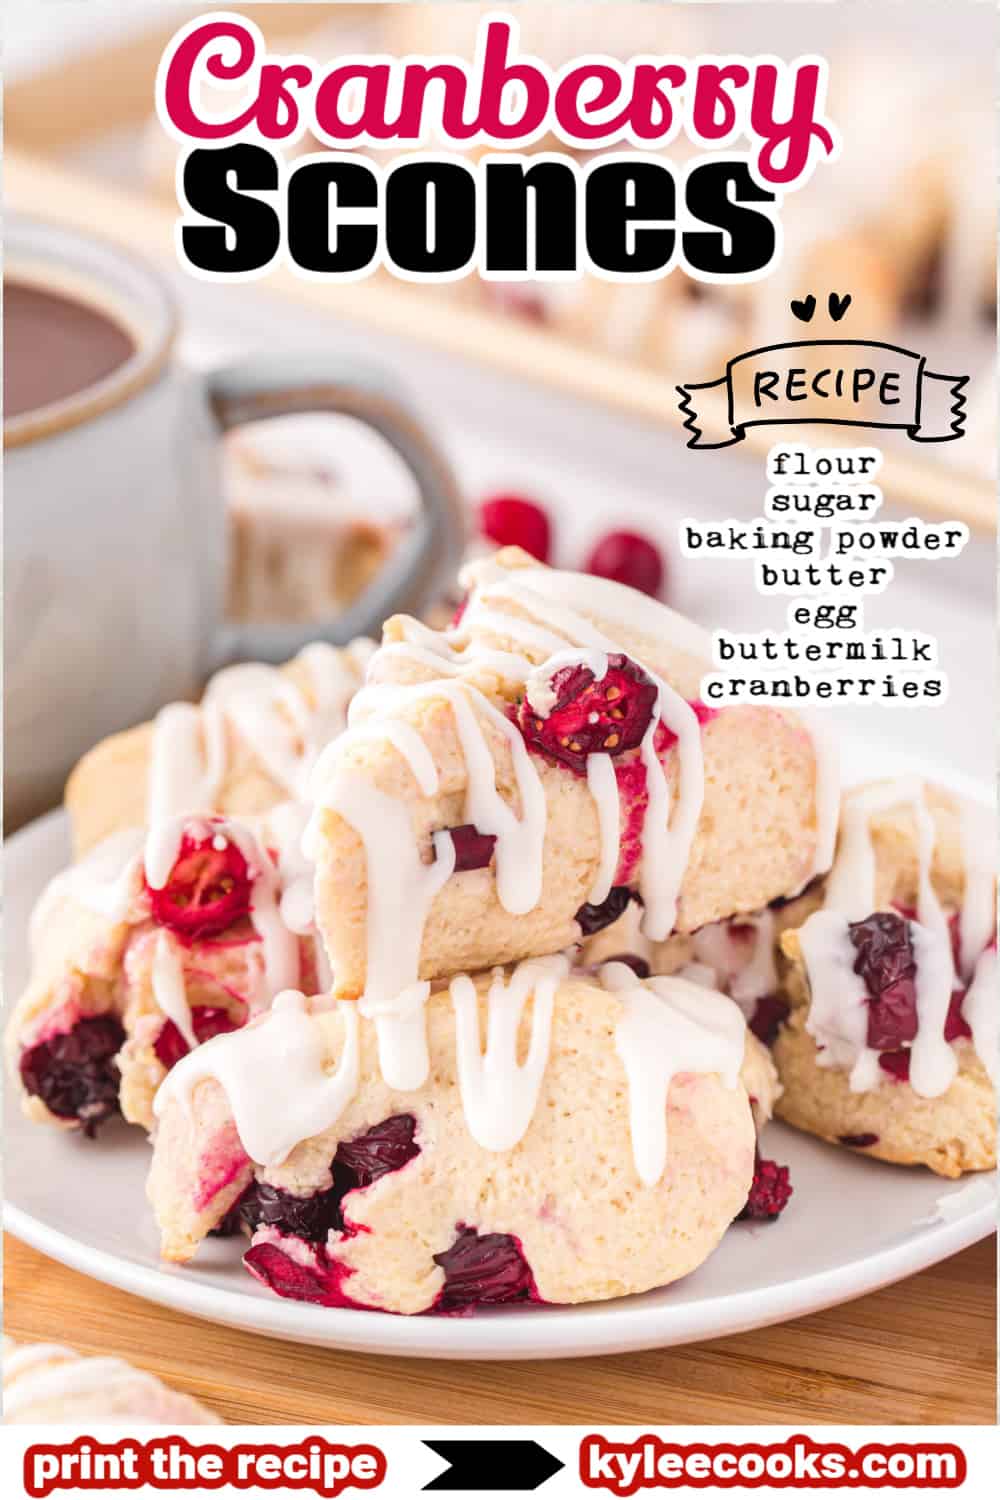
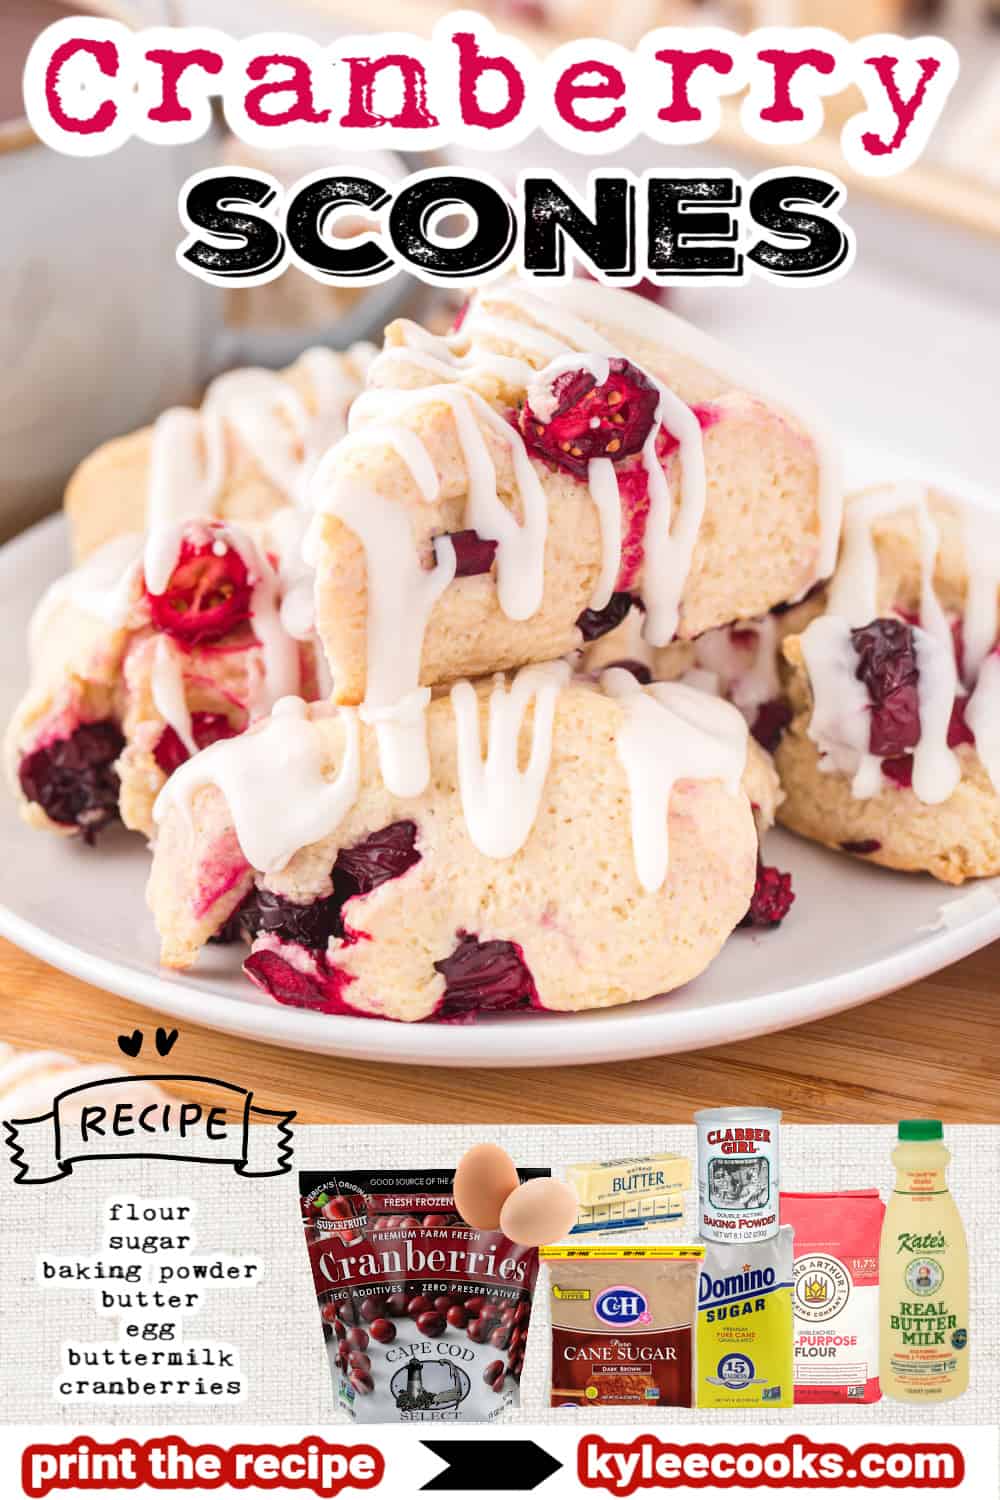
Cranberry Scones are the yummiest holiday baked treat! A sweet and tart combination of cranberries in a scone make for serious deliciousness.
Step-by-step photos and instructions are below!
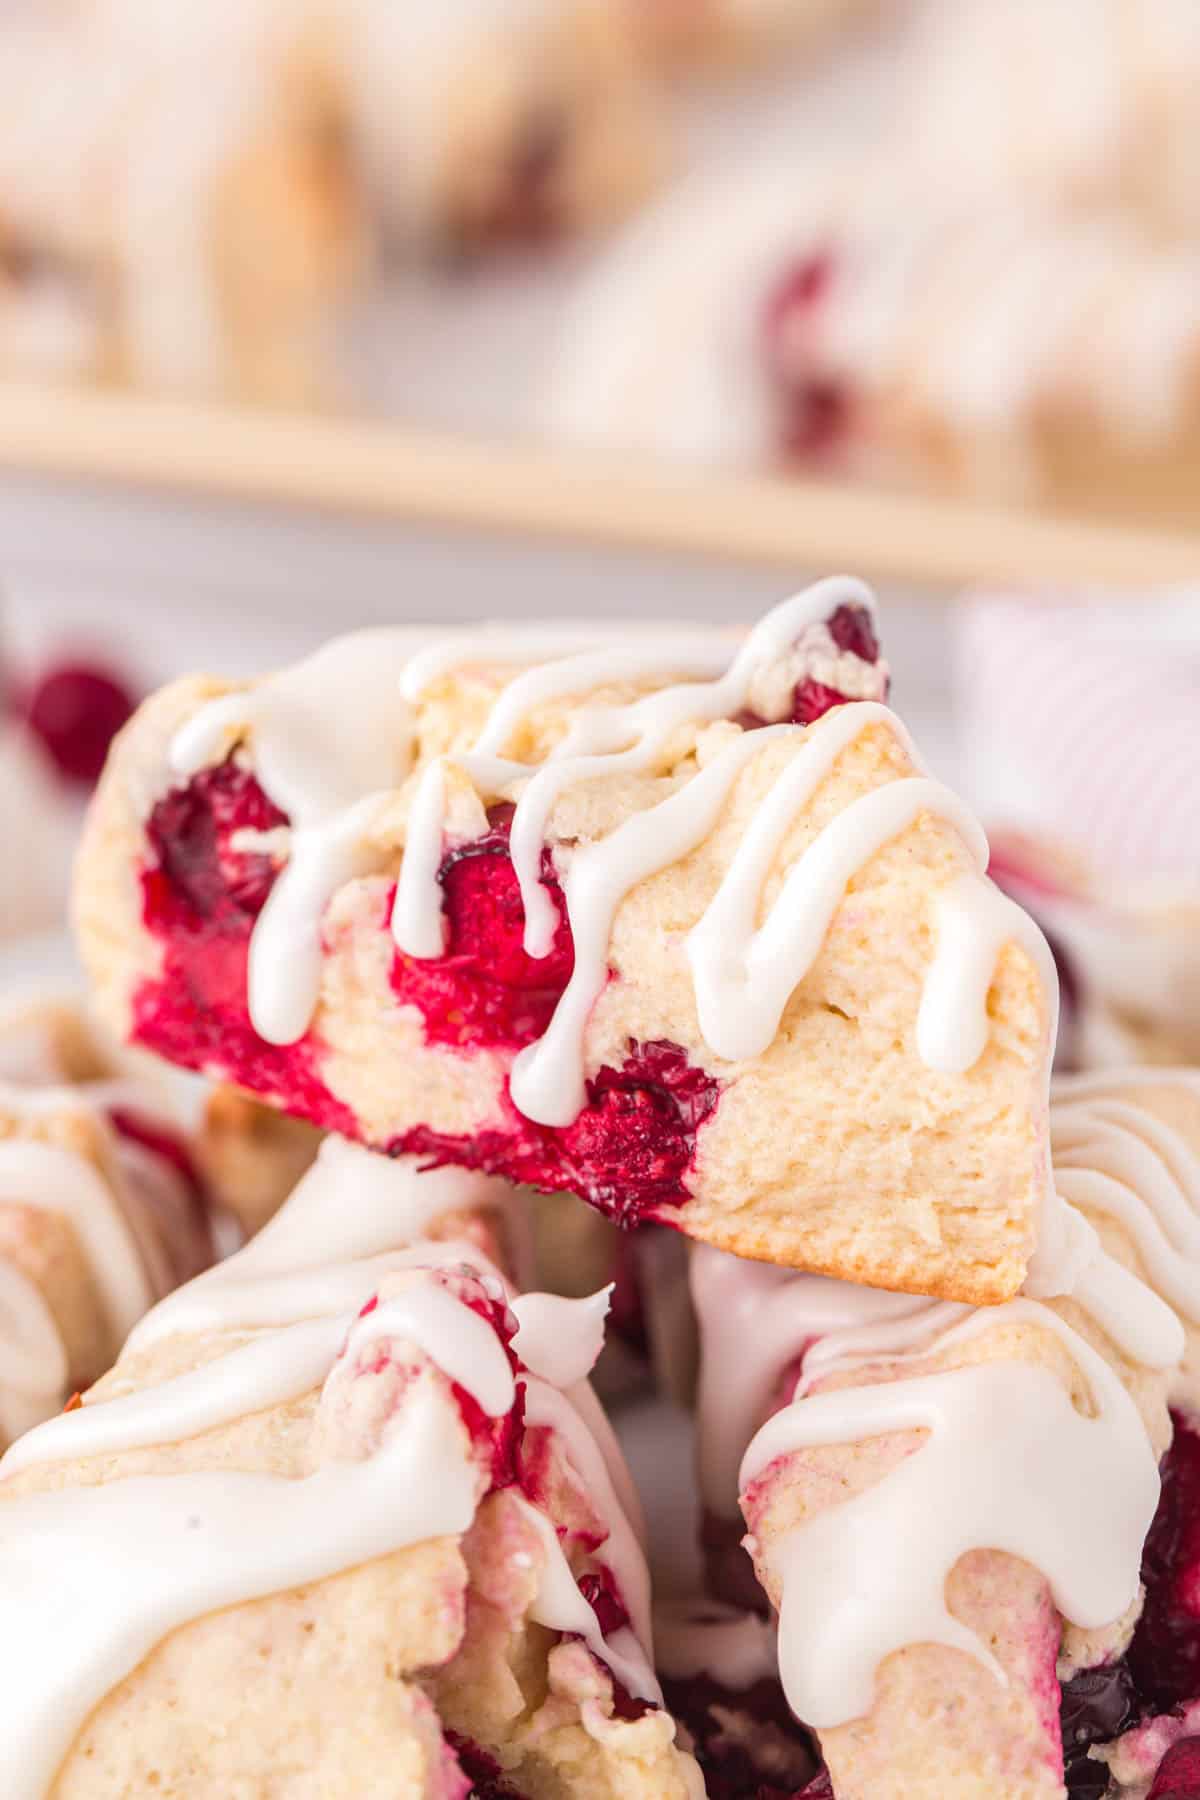
I’m a huge fan of scones, I regularly my favorite scone recipes, apple cinnamon scones and blueberry scones, depending on the season or time of year.
These light and flaky scones go great with a cup of coffee or tea, or just on their own.
What is the difference between American scones and scones in other countries?
These scones are different to what I grew up with knowing as a scone, in that they are sweeter, contain different flavor profiles, and regularly include a glaze. And they’re triangular vs round. Scones I made and ate in New Zealand are closer to what we call a biscuit in the USA.
Whichever kind of scone you’re into, you’ll love these ones for the holidays!
Aside from being delicious, they’re easy to make and super pretty.
About the glaze
The scones don’t need a glaze which is why it’s listed as an optional step. I tend to prefer a sweeter scone, so I always add on the glaze.
Alternatively, you could sprinkle the tops of the scones with some coarse sugar before baking.
I hope you love this scone recipe!
Why you’ll love this recipe:
- These scones are very easy to make. Check the FAQs and notes for help on getting the best results.
- Easy to find ingredients. You should be able to find the ingredients in your local grocery almost all year round.
Frequently Asked Questions
In a nutshell – cold ingredients, especially the butter. Using cold butter prevents it from melting before the scones are baked, so it melts as it bakes, resulting in a lighter, fluffier scone.
When making scones, it’s important not to overwork the dough, otherwise you’ll get dense scones. Try to handle the dough as little as possible in order to get flakier and lighter scones.
I have included step-by-step photos and instructions, as well as tips and tricks in the post. If you’d rather skip all that, scoot right on down to the full recipe card located at the bottom of the post.
Kylee’s Notes
For tender scones, it’s important not to overwork the dough, otherwise they turn out too dense. Try to handle the dough as little as possible in order to get flaky, perfect scones.
If you can’t fit all of the scones into one batch in the oven, that is okay. The dough will be fine to sit out during the 15 or so minutes that one batch takes to bake.
What to do with leftovers
Store these delicious scones at room temperature in an airtight container for 1-2 days. They will then last another 3 days in the refrigerator.
Substitutions/Additions
If you don’t have buttermilk, mixing your own is a great alternative. You can add 2-3 teaspoons of lemon juice or white vinegar to milk. Let it sit until it starts to sour, about 5 minutes.
If you want to add a little extra pop, a little orange zest grated into the dough is a game changer.
Vanilla extract is a great addition, just use 1 tsp for this.
Freezing instructions
This recipe can be frozen after baking. For longer storage, wrap them individually in plastic wrap and store in the freezer for up to three months.
Recipe Ingredients and Possible Substitutes
The full list of ingredients and quantities is found in the printable recipe card below.
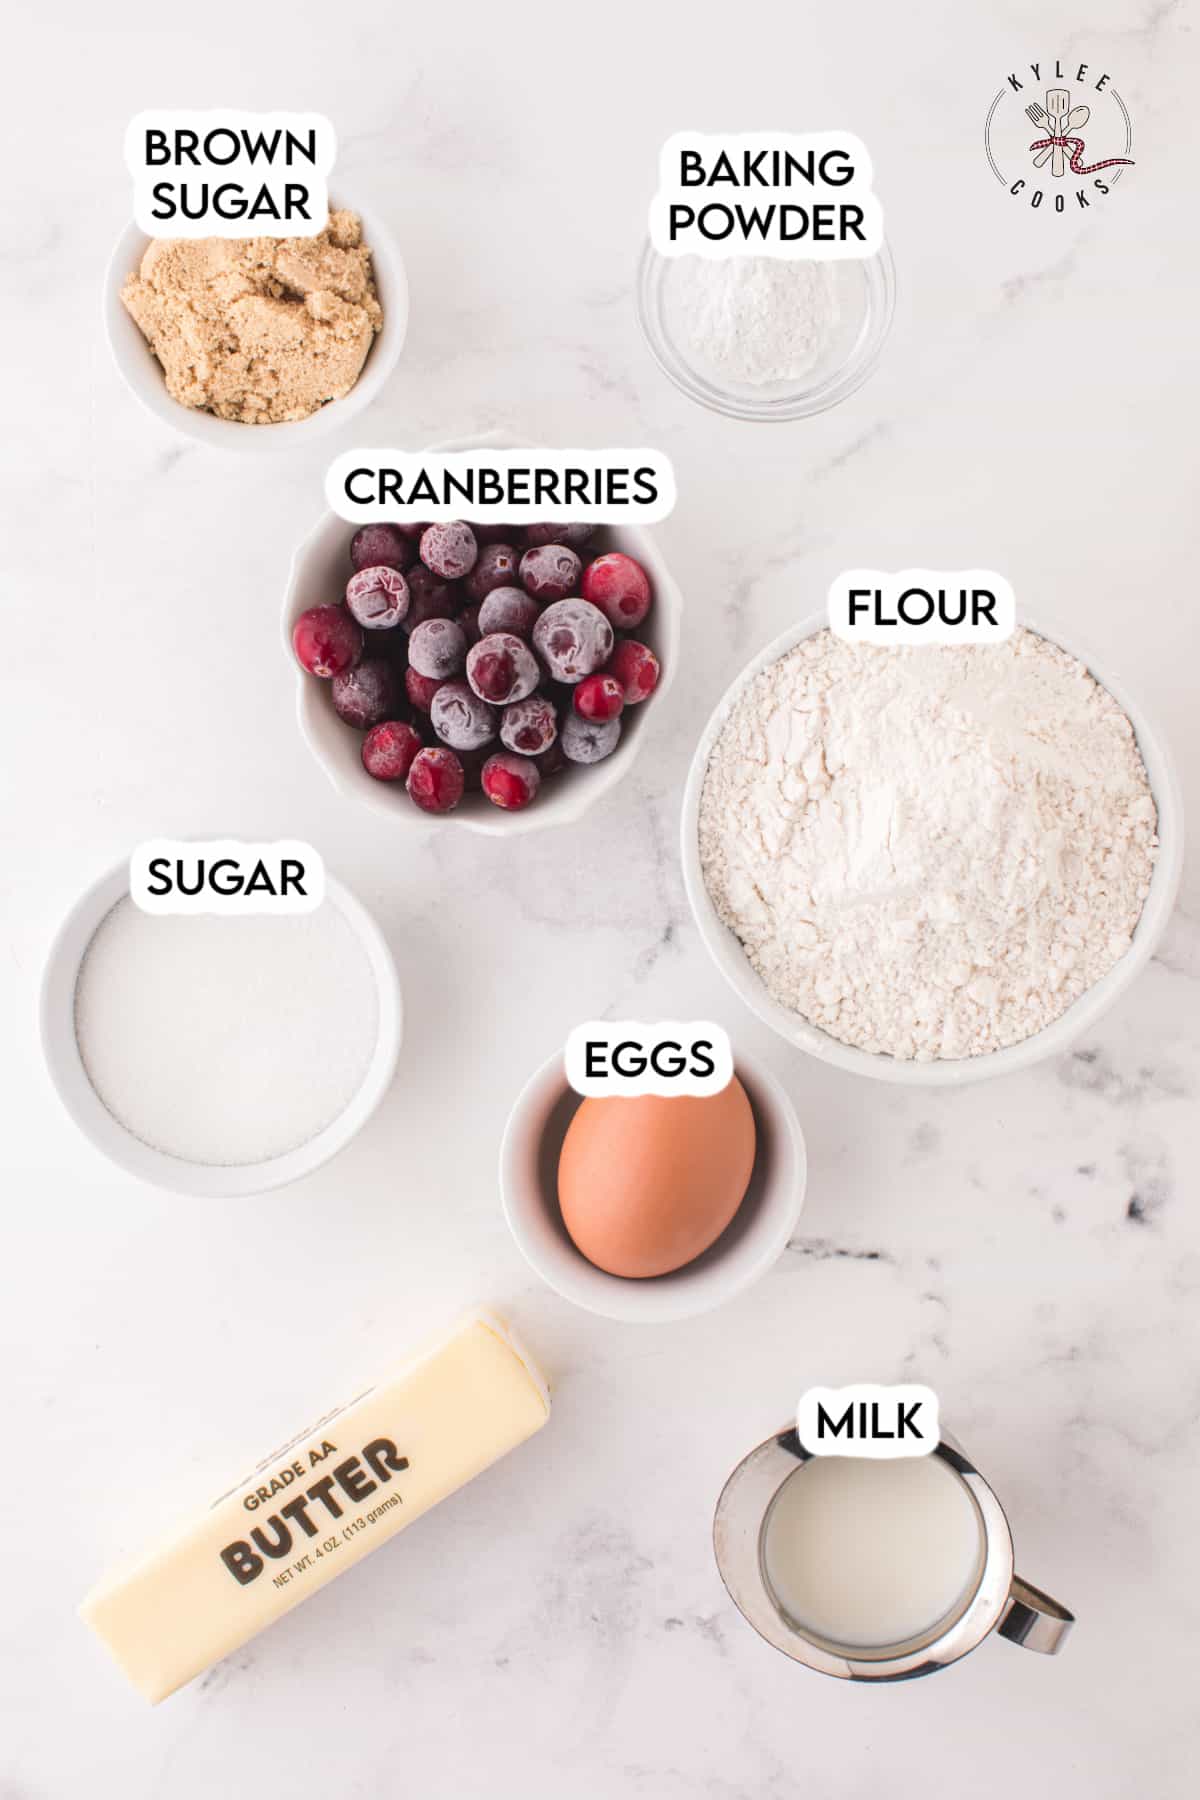
- Flour. Plain, all-purpose flour.
- Sugar. Granulated white sugar
- Light brown sugar. If you don’t have this, you can use all granulated white sugar instead or for a slightly different flavor, use dark brown sugar.
- Baking powder. This is what makes the scones rise as they bake.
- Butter. I use salted butter. If you want to use unsalted butter, no worries! Just add an extra pinch of salt as well.
- Egg. I use large eggs for baking.
- Buttermilk. If you don’t have any buttermilk, mix ⅓ cup of whole milk with 1 teaspoon of lemon juice and let that sit for five minutes. After that, you’ll have instant buttermilk.
- Cranberries. I use frozen cranberries. If you only have fresh cranberries, freeze them before using, otherwise they might pop and add too much moisture to the dough. You can also use dried cranberries, though you will miss out on the freshness and pretty color of whole cranberries.
- Optional: Powdered sugar and heavy cream for the glaze. If you use a little orange zest in the dough, use orange juice in the glaze instead of the cream to make an orange glaze.
Recommended Equipment/Tools
- Measuring cups
- Measuring spoons
- Large Mixing Bowl
- Pastry Cutter or fork
- Sheet Pan
- Parchment Paper
- Pizza Cutter or knife
How to make this recipe
Scroll for Recipe
The full list of ingredients, quantities and instructions can be found in the printable recipe card below.
Get prepped
Preheat the oven to 350 degrees F and line large baking sheet with parchment paper.
Make the dough
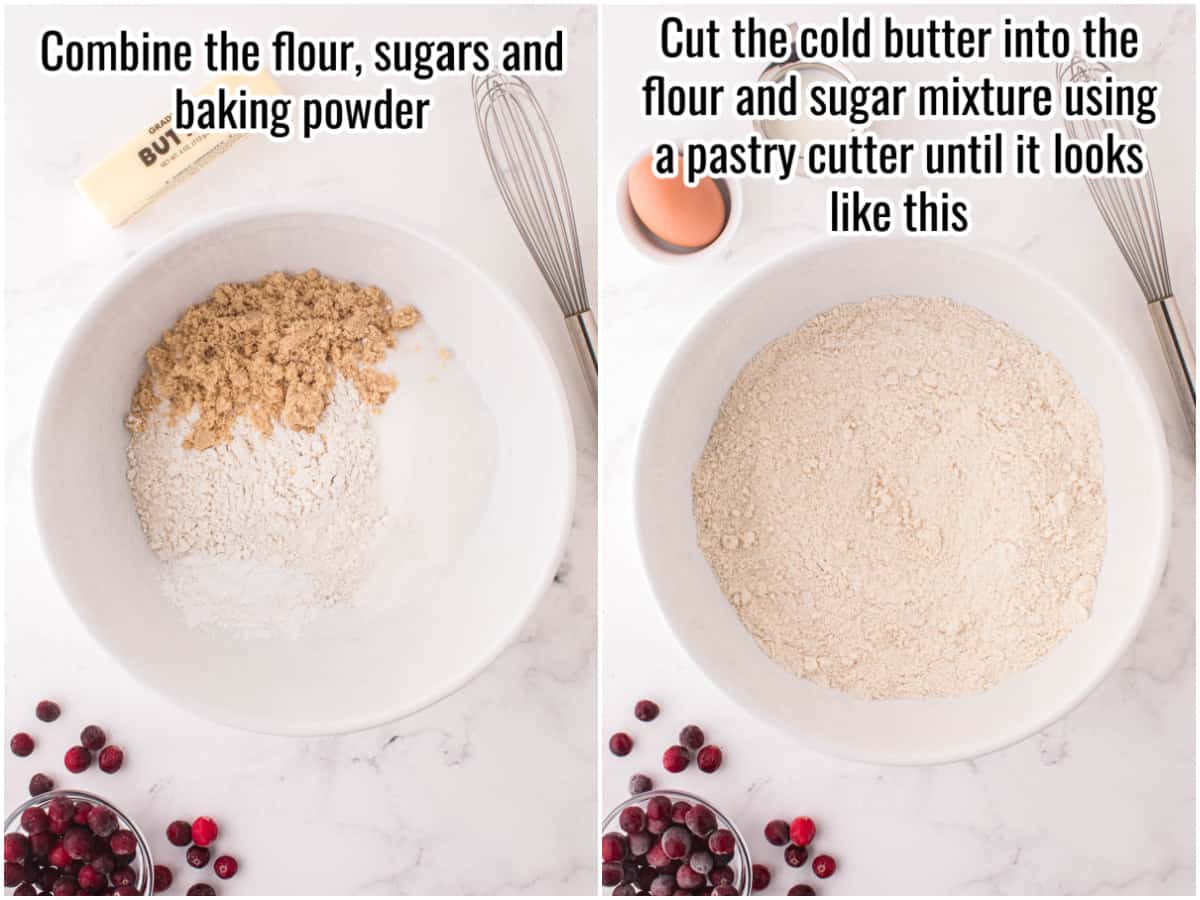
In a large bowl, combine the flour, white sugar, brown sugar, and baking powder. Mix well.
Add the cold butter into the dry ingredients (the flour and sugar mixture) and using a pastry blender, cut in butter until mixture resembles pea sized chunks or very coarse crumbs You can also use a food processor for this step, but don’t OVER process.
Whisk the large egg and buttermilk together in a separate bowl until smooth and even. Add the wet ingredients to the butter and flour mixture.
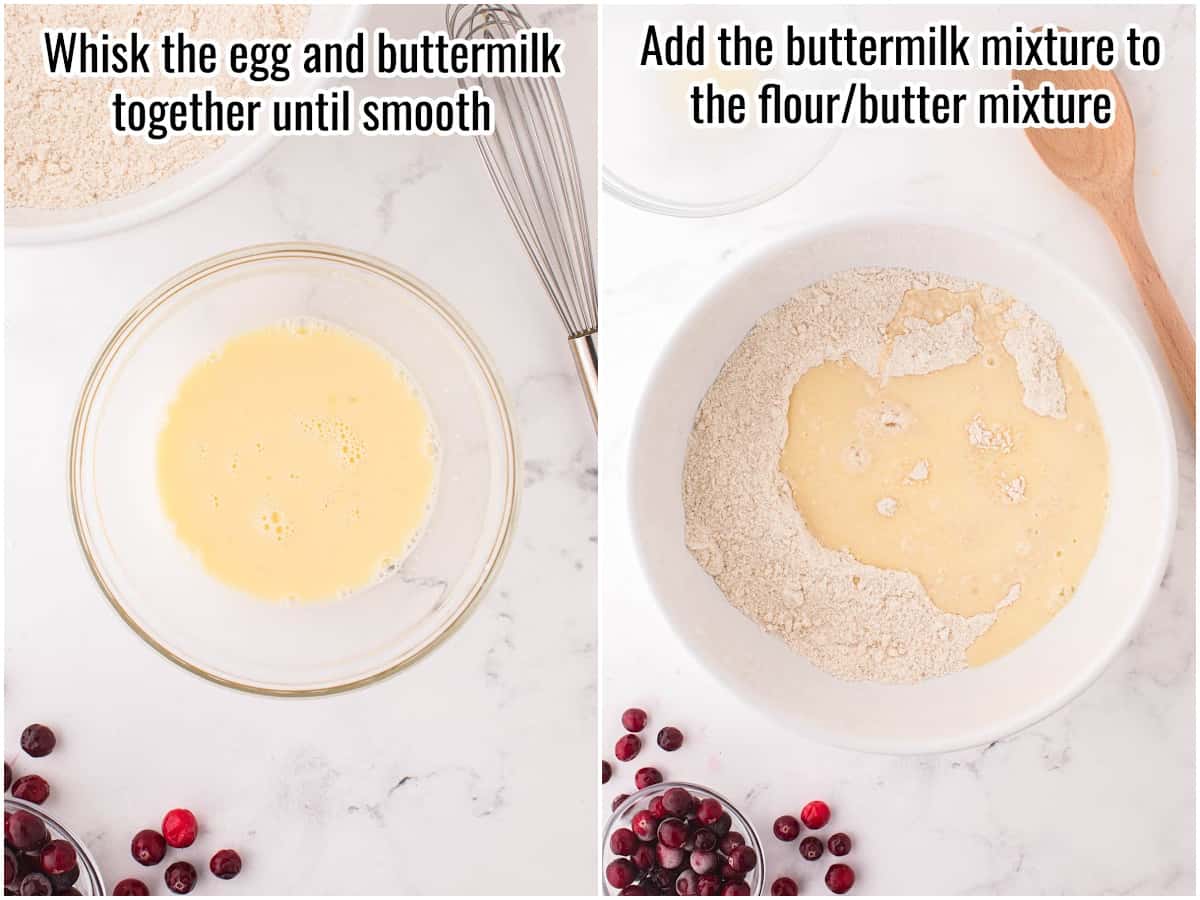
Mix together carefully until the flour mixture is wet, then add in the frozen cranberries.
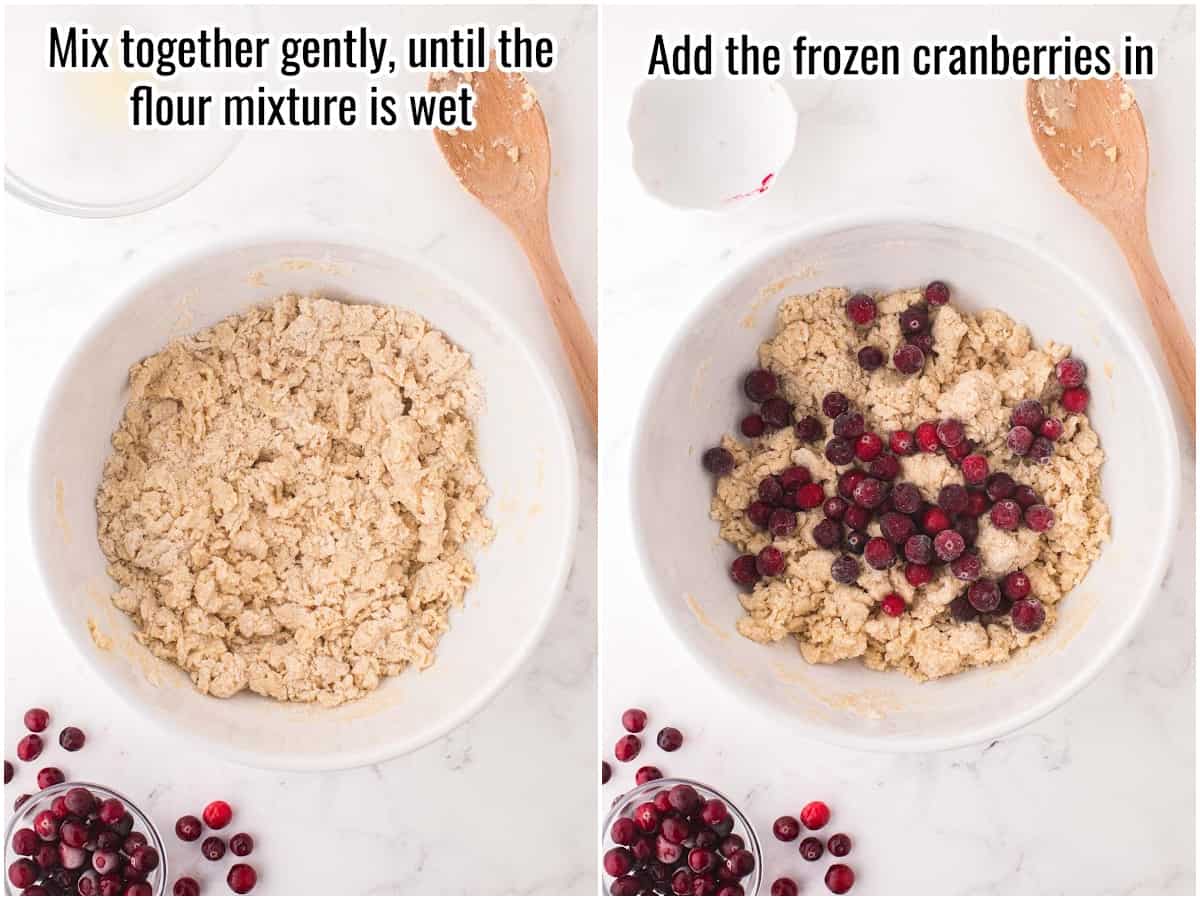
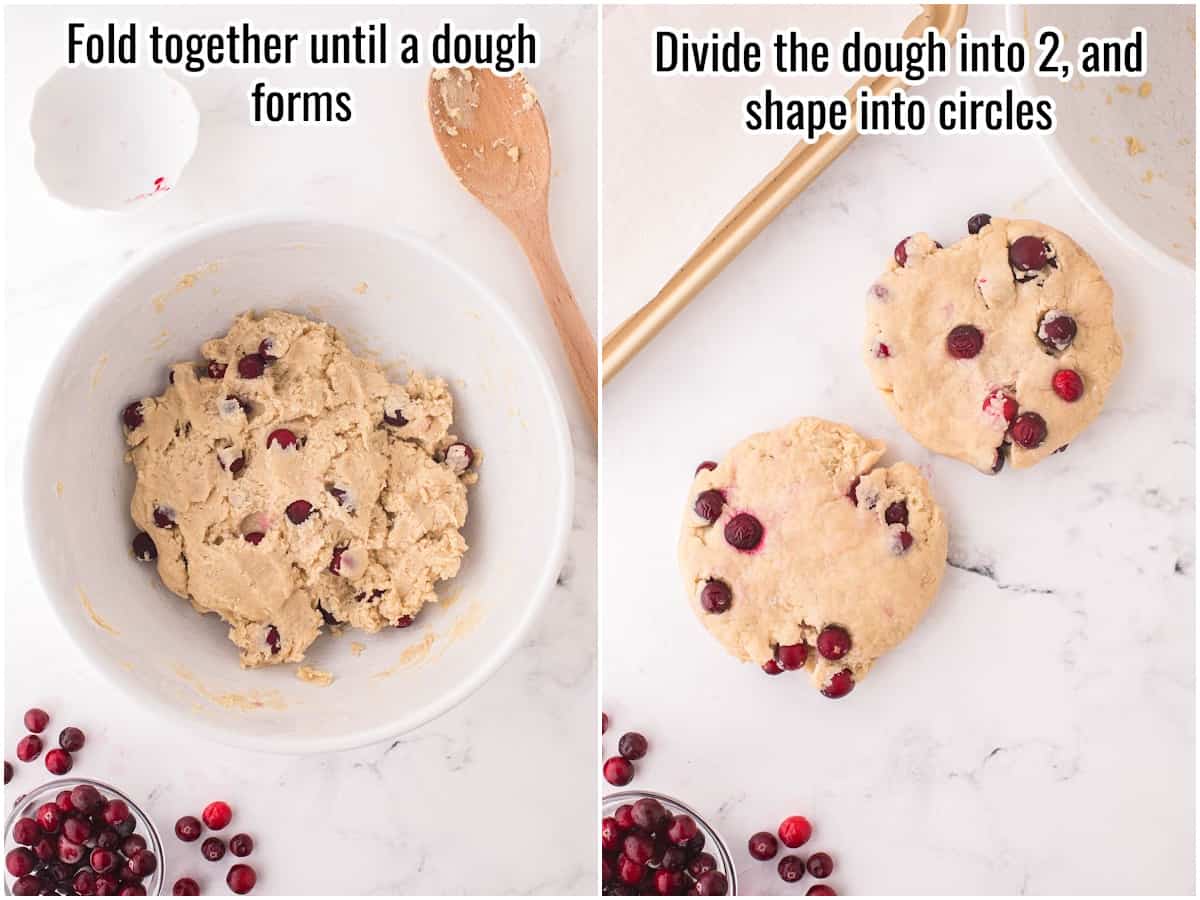
Toss in the frozen cranberries and gently fold everything together until a dough forms.
On a lightly floured surface, divide the dough into two. Using your hands, shape the dough into two flat circles on the countertop that are about 1 inch thick. You won’t need a rolling pin, in fact that might actually make your scones tougher. A light touch is needed.
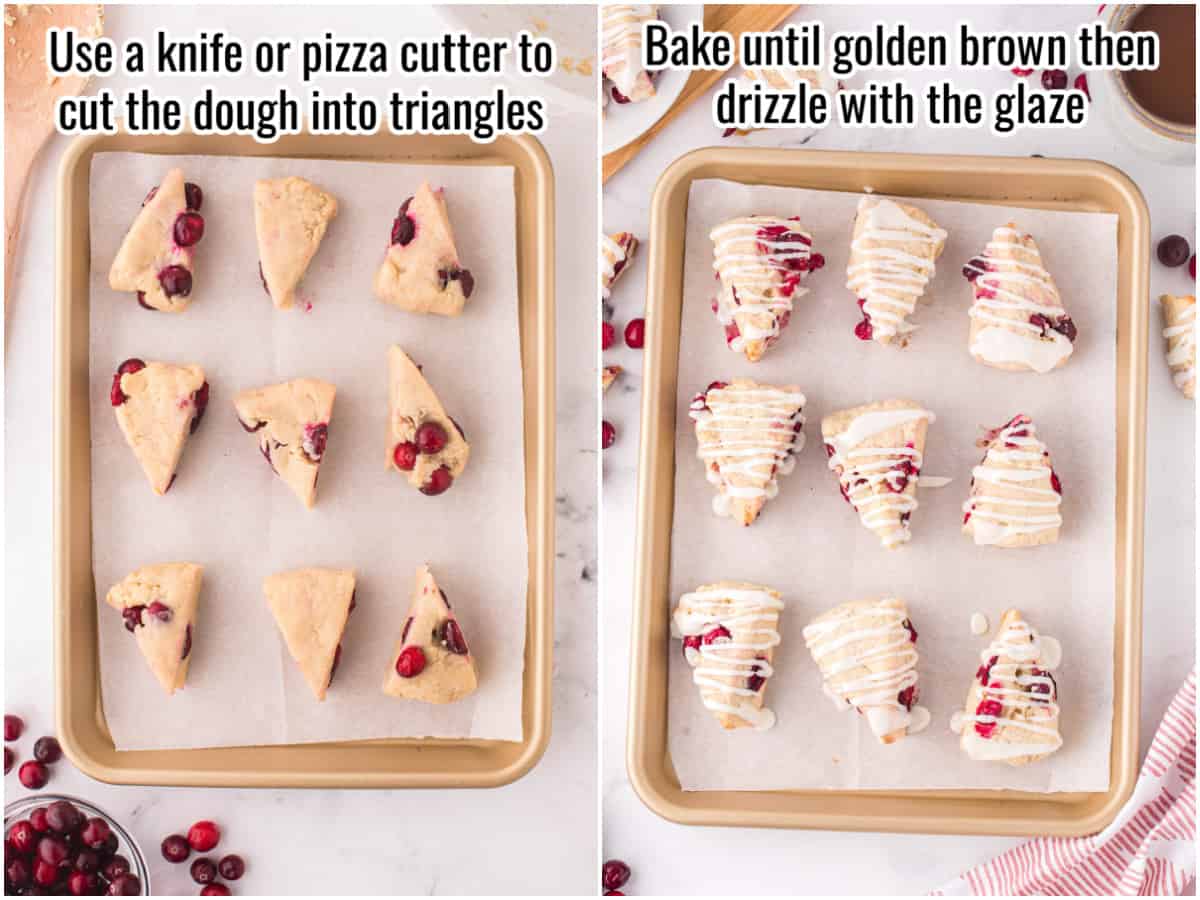
Use a knife or pizza cutter to cut each circle of dough into 8 triangular wedges, just like a pizza.
Place the wedges on the sheet pan and bake in the oven for 14-16 minutes or until they start to turn golden brown.
Cool on a wire rack until completely cooled before glazing.
Optional step: Once the scones have cooled, mix together powdered sugar and heavy cream in a small bowl to create a thick, pourable glaze. Drizzle the top of each scone with the glaze.
More cranberry recipes
Get free recipes in your inbox!
Find me on Pinterest, Facebook & Instagram.
If you make this recipe, please comment and let me know how it turned out and leave a star rating!
Cranberry Scones
Recommended Equipment
- Pastry Cutter (or fork)
- Pizza Cutter (or knife)
Ingredients
- 2 ¼ cups all-purpose flour (plus more for flouring surface and hands)
- ½ cup granulated white sugar
- ⅓ cup light brown sugar (packed)
- 1 ¾ teaspoons baking powder
- ¼ cup ½ stick salted butter (cold)
- 1 large egg
- ⅓ cup buttermilk
- ¾ cup frozen cranberries
Optional glaze:
- 1 cup powdered sugar
- 2-3 Tablespoons heavy cream (or whole milk)
Directions
- Preheat the oven to 350 degrees F and line a sheet pan with parchment paper.
- In a large bowl, combine the flour, white sugar, brown sugar, and baking powder. Mix well.
- Cut the cold butter into the flour and sugar mixture using a pastry cutter until the butter has created pea sized chunks.
- Whisk the large egg and buttermilk together in a separate bowl until smooth and even.
- Add the buttermilk mixture to the butter and flour mixture and mix together carefully until the flour mixture is wet.
- Toss in the frozen cranberries and gently fold everything together until a dough forms.
- Flour a surface on the countertop.
- Divide the dough into two. Using your hands, shape the dough into two flat circles on the countertop that are about 1 inch thick.
- Use a knife or pizza cutter to cut each circle of dough into 8 triangular wedges, just like a pizza.
- Place the wedges on the sheet pan and bake in the oven for 14-16 minutes or until they start to turn golden brown.
Optional step
- Once the scones have cooled, mix together powdered sugar and heavy cream to create a thick, pourable glaze. Drizzle the top of each scone with the glaze.
Notes
Nutrition Facts
Disclaimer
Nutritional information is an estimate and provided to you as a courtesy. You should calculate the nutritional information with the actual ingredients used in your recipe using your preferred nutrition calculator.


Dawn says
Lovely and just right for the holidays